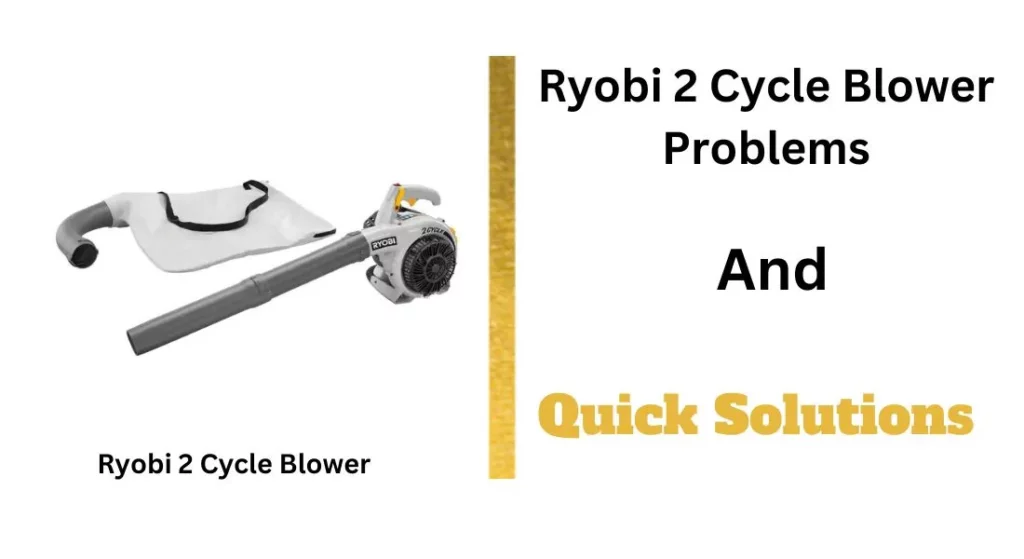
Ryobi 2 Cycle Blower Problems and Their Fixes
The Ryobi 2 Cycle blower is a jet fan blower featuring a 3-part fan build. It produces 520 cubic feet per minute with a speed of 160 miles per hour.
The most typical Ryobi 2 Cycle Blower problems are inconsistent blow, faulty ignition module, unable to reach high speed, failure to start, overheating, and leaking fuel.
I’ll go over a few common Ryobi 2 Cycle Blower troubleshooting techniques in this article. So let’s start by taking a look at some of the features and characteristics of this blower.
Features & Specifications of Ryobi 2 Cycle Blower:
| Fuel Tank Capacity | 18 Ounces or 510 Grams |
| Engine Type | 2 Cycle |
| Maximum Air Volume | 520 CFM |
| Maximum Air Speed | 160 MPH |
| Noise Rating | 74 dB |
| Depth | 33 Inches |
| Height | 8 Inches |
| Width | 8 Inches |
| Features | Adjustable Speed, Translucent Fuel Tank |
Common Ryobi 2 Cycle Blower Problems and Solutions
| Problems with Ryobi 2 Cycle Blower | Solutions |
| Inconsistent Blow | Spray the high-speed circuit with carburetor spray. |
| Faulty Ignition Module | Replace the ignition module. |
| Unable to Reach High Speed | Readjust the L-screw and idle screw. |
| Failure to Start | Replace the carburetor. |
| Overheating | Change the heat dam. |
| Leaking Fuel | Install a new fuel tank. |
1. Inconsistent Blow
The blower may make a rough noise when you turn it on. If you press the button, you will notice the difference just by looking at the inconsistency.
Even if you have the spark and compression, this issue might occur. The carburetor of the Ryobi 2 Cycle is the main reason for this problem.
The high-speed circuit of the carburetor might become clogged which will cause the blower to make an unusual noise.
The Fix
First of all, take out the carburetor from the Ryobi 2 Cycle blower. Now, unscrew the high-speed screw from the carburetor.
Now, spray the circuit with some carburetor spray. Put inside the nozzle on the circuit and you will see the nozzle (Fig 1).
Fig 1 – Spraying the High-Speed Circuit
After that, test the blower again and it should work smoothly.
2. Faulty Ignition Module
Your Ryobi 2 Cycle blower may stop all of a sudden in the middle of working. This usually happens when the ignition module has become damaged.
So, you have to inspect the ignition coil and possibly install a new one in place.
The Fix
First, remove the blower tube by turning it in the clockwise direction. Now, detach the side housing by unscrewing the screws.
After that, disconnect the base extension and remove the whole housing. Now, uninstall the fan and the side cover. Now, unplug the wires from the ignition coil.
Unscrew the screws and install the new ignition coil. Be sure to line up the magnets with the base of the ignition coil. Now, do the whole process in reverse order.
3. Unable to Reach High Speed
When you start the blower for the first time in a day, it will turn off automatically after a while. But after trying a couple of times, it will eventually start working.
But the issue occurs when it cannot reach full speed. When you squeeze the throttle, the blower will have difficulty raising the speed.
The Fix
You have to adjust the carburetor of the Ryobi 2 Cycle Blower to fix this issue. You will need a Pacman Tool for this procedure.
Turn the L-screw counter-clockwise and inspect the speed of the blower. If you notice that the throttle response is slow, you have to turn the L-screw furthermore.
You may also turn the idle screw a little bit in the clockwise direction. Now, the blower should start working as well as a new one.
4. Failure to Start
If your Ryobi 2 Cycle blower does not start when you crank it, it might have an issue with the carburetor.
If the carburetor has become faulty or damaged, you might need a replacement.
The Fix
First, remove the air filter cover and base. Then, detach the throttle cable and fuel lines from the carb.
Use fuel line clamps before removing the lines. Now, you can easily disconnect the old carburetor.
Ensure that the throttle plate is on the engine’s side. After putting it in position, execute the procedures in reverse order.
5. Overheating Problem
If the heat dam of your Ryobi 2 Cycle blower malfunctions, the blower will not work properly.
This will cause an issue with the heat transfer process. As a result, the blower can overheat.
The Fix
You have to disconnect the air filter from the blower. Then, remove the carburetor. You have to unscrew some screws to detach the engine cover.
Now, take off the gasket from the heat dam and take out the bolts. Then, you can remove the heat dam and replace it with a new one.
The hole of the heat dam should go downwards while installing it.
6. Leaking Fuel
Most of the time, when the fuel is leaking, there might be a problem with the fuel lines.
Also, the fuel tank might have a defect. So, you should replace the fuel tank to stop the leaking.
The Fix
Unscrew the screws that connect the fuel tank with the engine of the blower. Now, you can replace the old fuel tank with a new one.
You have to examine which fuel line is connected to the fuel filter. Detach the gas cap and examine the line.
Now, prime the primer bulb to determine the incoming line. Now attach the filtered line to the incoming line. Now, put everything back together.
Frequently Asked Questions (FAQs)
What type of blower is the Ryobi 2 Cycle Blower?
Handheld blower.
What is the engine displacement of the Ryobi 2 Cycle Blower?
25 cc.
What type of power does the Ryobi 2 Cycle Blower use?
Gas power.
Is the Ryobi 2 Cycle Blower returnable?
It has a 30-day returnable feature.
What type of start type does the Ryobi 2 Cycle Blower have?
Recoil start type.
Does the Ryobi 2 Cycle Blower have any guarantee or warranty?
Yes. 3-year limited warranty.
What products does the Ryobi 2 Cycle Blower include?
The blower and a user manual.
Conclusion
I have discussed the most common Ryobi 2 Cycle blower problems in this article. Follow the detailed instructions to fix the issues accordingly.
Always inspect the carburetor for any problems because the Ryobi 2 Cycle blowers are known to have issues with the carburetor.
Related Posts: